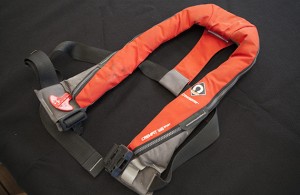
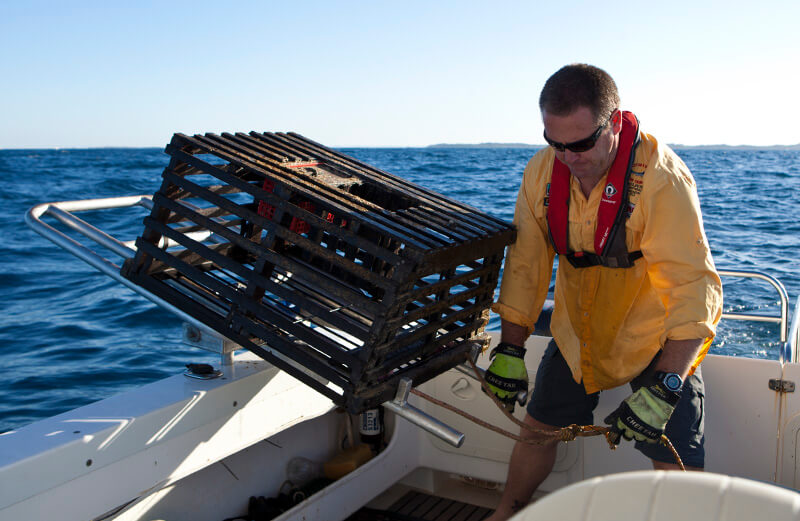
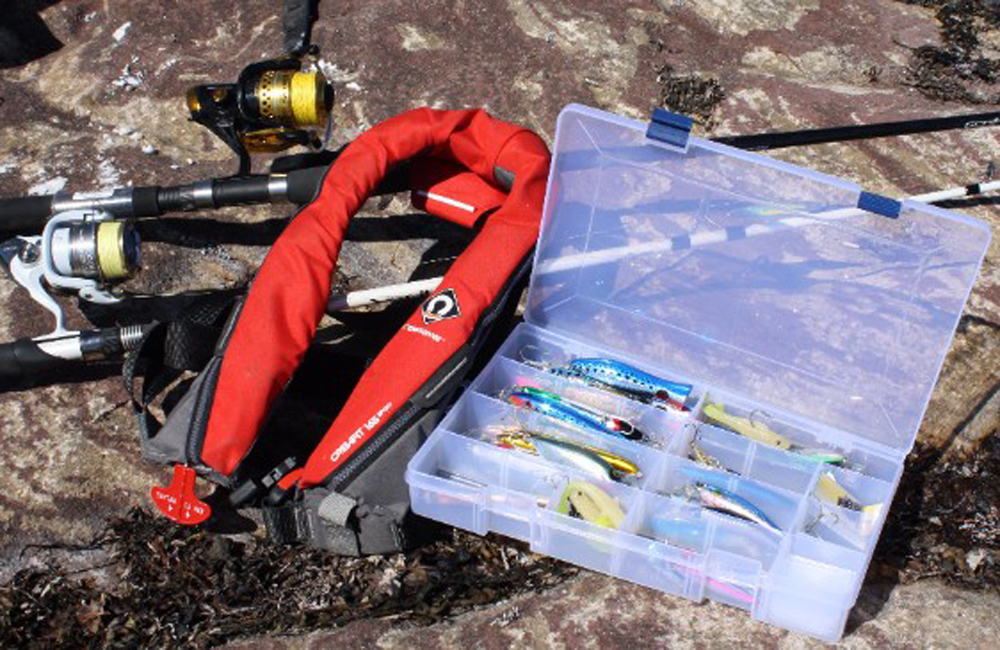
Inflatable life jackets have become hugely popular as they are light weight and far less cumbersome than the conventional foam life jackets. This new breed of inflatable life jacket allows you to move freely and easily while wearing it which means they can and should be worn at all times by everyone on board, not stowed away in case of emergency.
Inflatable life jackets should be serviced every time the jacket has been deployed or at least once a year. The following instructions are for a Crewfit manual inflate life jacket. If you have a different model, you should refer to the manufacturer’s instructions, however the procedure will be the same for the most part.
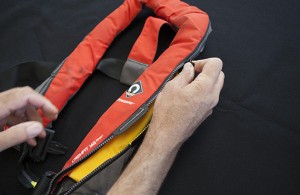 Step 2 – Test the bladder for punctures
- Place the jacket on a clean work surface free of anything that could damage or puncture the bladder.
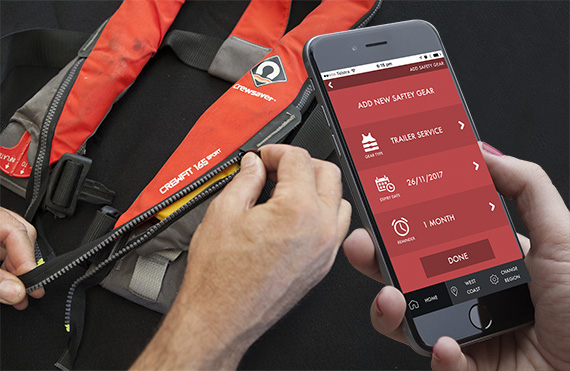
- Insert your index finger under the zip on both sides and pull both ends of the zip out.
- Undo the velcro burst tabs and unzip the cover.
- Once inflated, leave the jacket indoors for at least an hour or overnight to see if it deflates.
- If the jacket shows any signs of deflation or you can hear a hissing sound, you will need to take the jacket to a service center for repair or simply buy a new jacket.
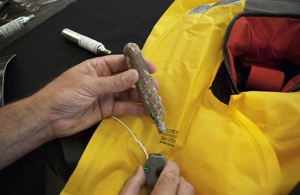 Step 3 – Check the CO2 canister
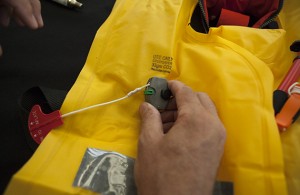
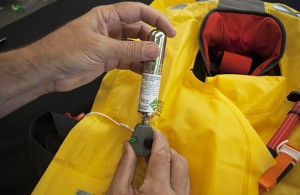
- Unscrew the canister and check that the valve hasn’t been punctured.
- Inspect the canister for corrosion or damage. A corroded or damaged cartridge may rub against the bladder and cause a puncture so even if the seal is still in tact, a corroded or damaged cartridge will need to be replaced. To purchase replacement CO2 cartridges for your Crewfit inflatable life jacket, click here
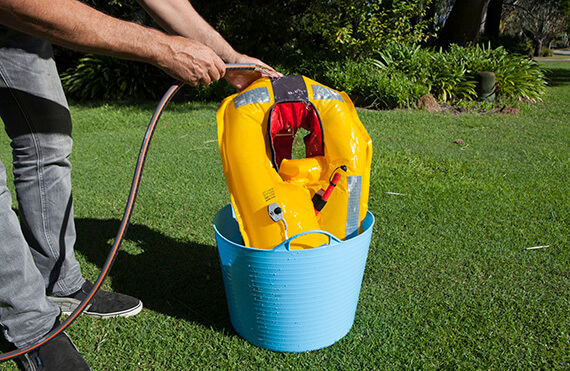 Step 5 – Wash the jacket
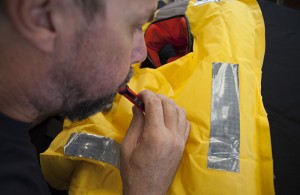
- With the bladder inflated and the puncturing lever unlocked, run the jacket under fresh water to remove any salt or debris.
- Make sure to get into any crevices and folds, being careful not to damage the bladder.
- Hang the jacket up to dry in the shade and allow to dry completely before going on to the next step.
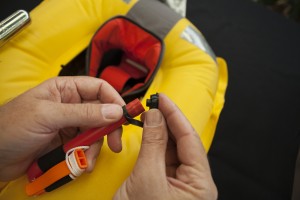 Step 7 – Deflate the jacket
- Locate the manual inflation mouth piece.
- Turn the cap over and gently insert the tip into the valve of the mouthpiece to release the air.
- You can speed up the process by gently pressing on the bladder to help push the air out.
- Ensure all the air is released or it will be difficult to repack.
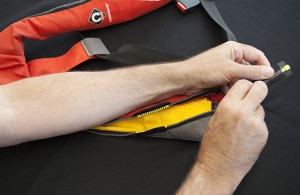 Step 8 – Repack the jacket
- Replace the cap on the manual inflate mouth piece and check that the whistle is attached securely.
- Follow the bladder folding instructions on the label which should be attached to the jacket.
- Once the bladder is back in position, carefully zip the jacket back up ensuring the bladder doesn’t get caught in the zip.
- Secure the velcro burst seams and tuck the zip ends back up into the jacket ensuring the inflation toggle is free.
 Step 9 – Fill out the service record
- The service record tag is located in a pouch in the shoulder strap of the jacket.
- Remove the tag and record who the jacket was inspected by and the date.
- Replace the tag into the pouch and you are good for another year or until the jacket is deployed.
- While it’s not a legal requirement in WA, filling out this record will help you keep track of your servicing schedule.
- It is also a good idea to put the date into your smartphone and set a reminder for 1 year so you don’t forget.
Watch the how to video:
Life Jacket Tips:
- I Love Fishing strongly advises all passengers on the boat to wear a life jacket at all times, especially children
- Life jackets should be serviced once a year or after a deployment
- Before you head out on the boat, do a quick check of your life jackets to ensure there is one in the correct size for every passenger and that all buckles and straps are in good condition and working order
- Ensure all passengers know how to fit and operate the life jackets and where they are kept if they won’t be wearing theirs

